
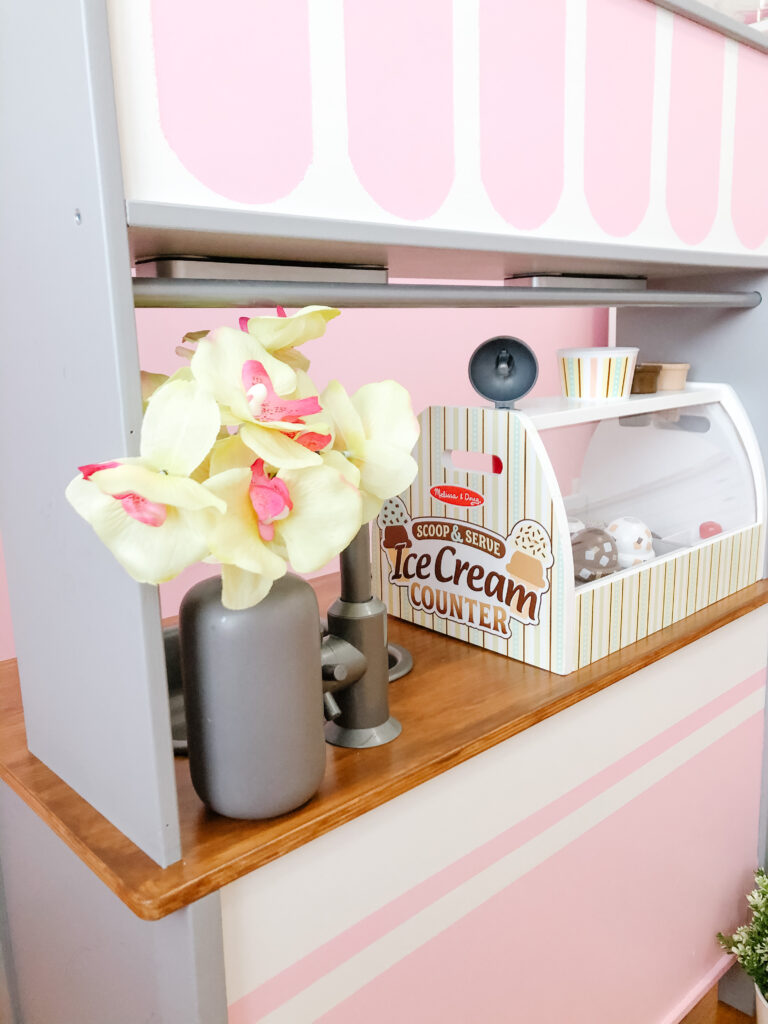
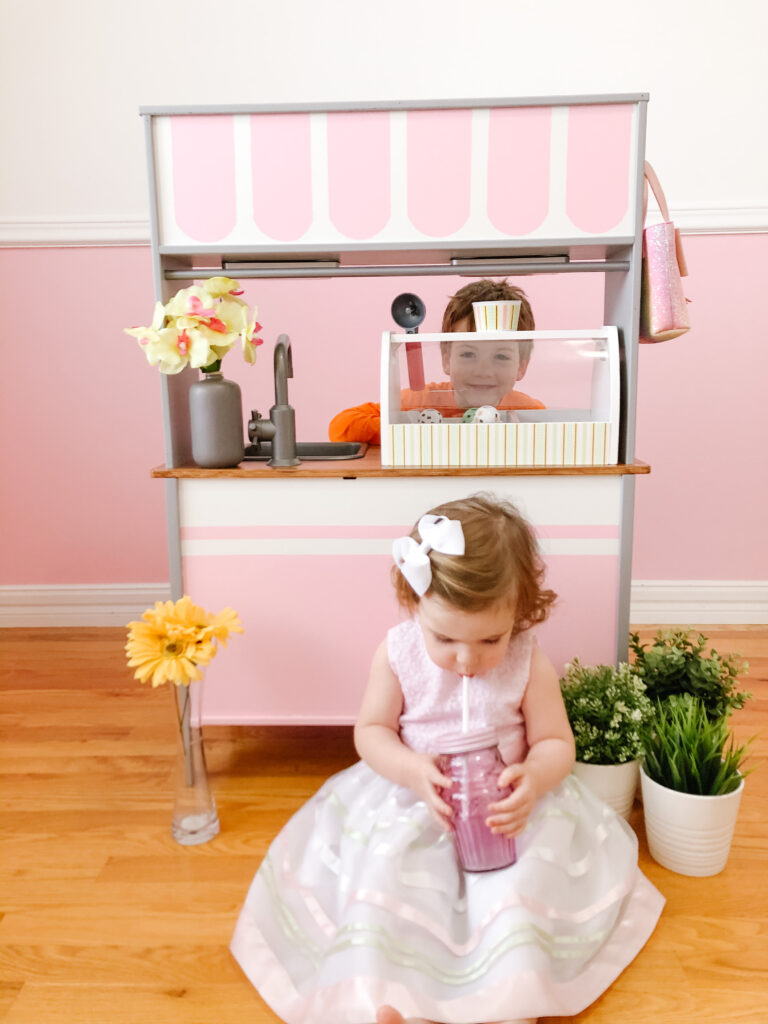
We are in the midst of decorating Kate’s bedroom and after much debate decided on an ice cream theme. I love the idea of hot air balloons and other whimsicle themes but at 23 months old it’s hard to know what she really loves… that said, we know with 100% certainty that she loves ice cream, playing in the play kitchen and playing with her babies.
Kate’s Ice Cream Parlor will house some toys and of course her bed, dressers, clothes, etc. I really wanted to put a few of the big toy items in this bedroom but also really wanted everything to look intentional and put together.
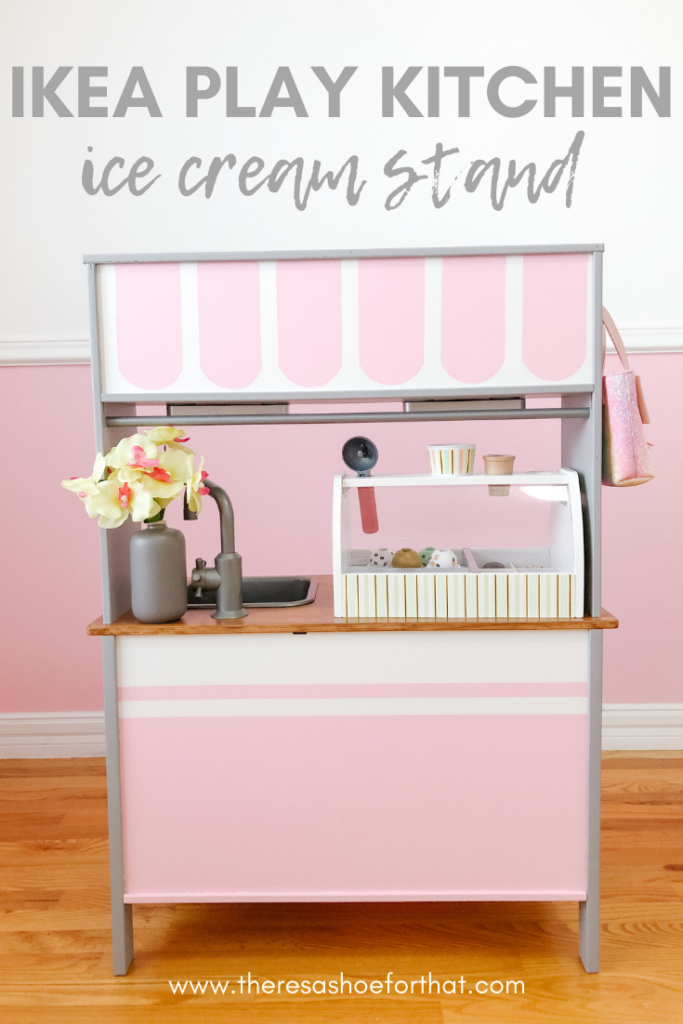
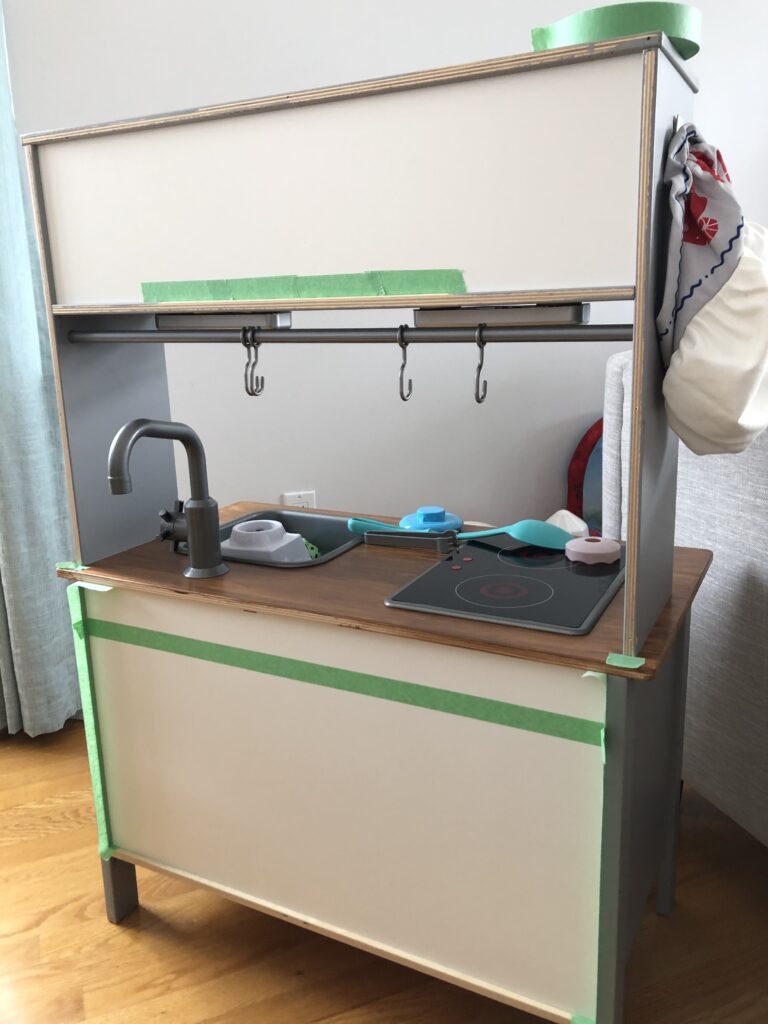
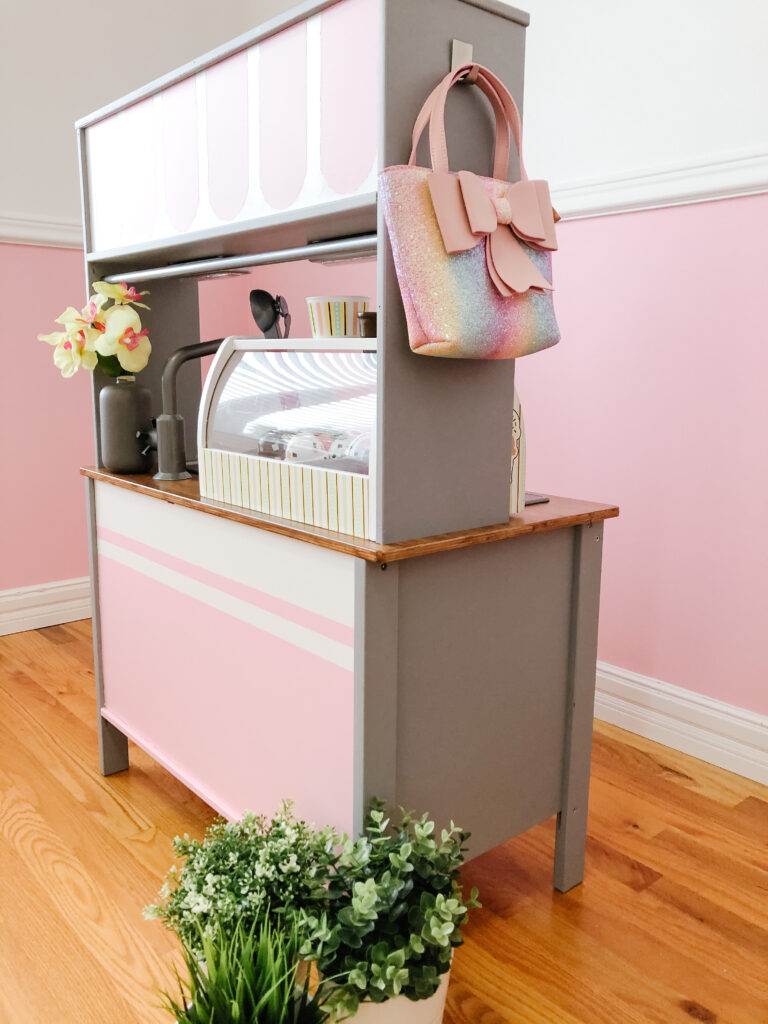
I searched Pinterest first, like all good DIY’ers, and found a few ideas to use the back of the Ikea kitchen to create a pass through. There are Bakeries, Cafes, Coffee shops and the occasional Ice cream stand that I drew inspiration from. Most of the ideas used stickers which is genius in my opinion, but the DIY Ice cream stand is not one of the places I am willing to splurge in the bedroom makeover – good old fashioned painters tape, leftover wall paint, a roller and a sponge brush are the tools I used (all of which I had on hand).
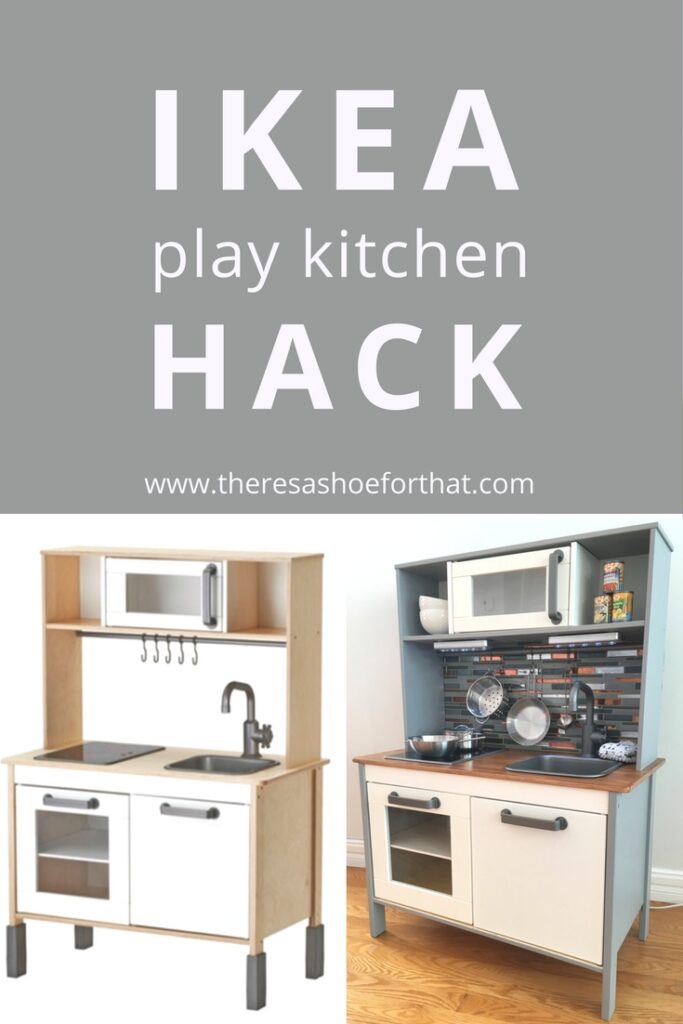
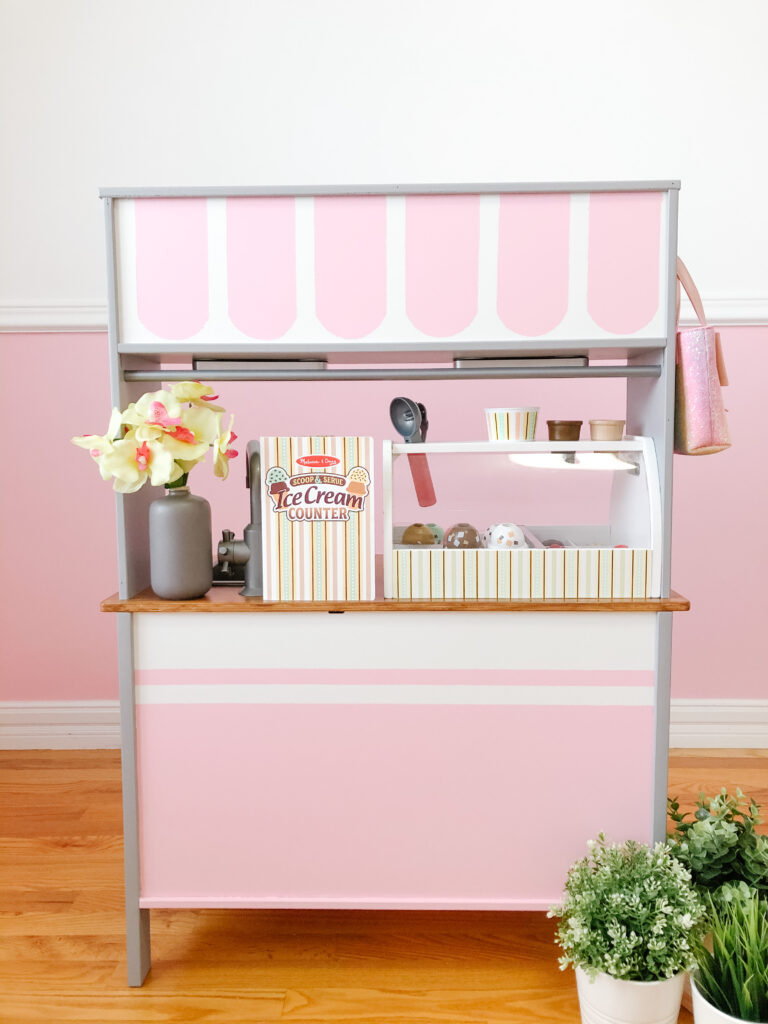
You might notice that our kitchen is grey and the countertop os stained… that was from the original kitchen upgrades I made 3 years ago when Little Dude received the kitchen as a Christmas present. The full transformation and Ikea Duktig Play Kitchen Hack including the steps I took are available for you, not to worry 😉
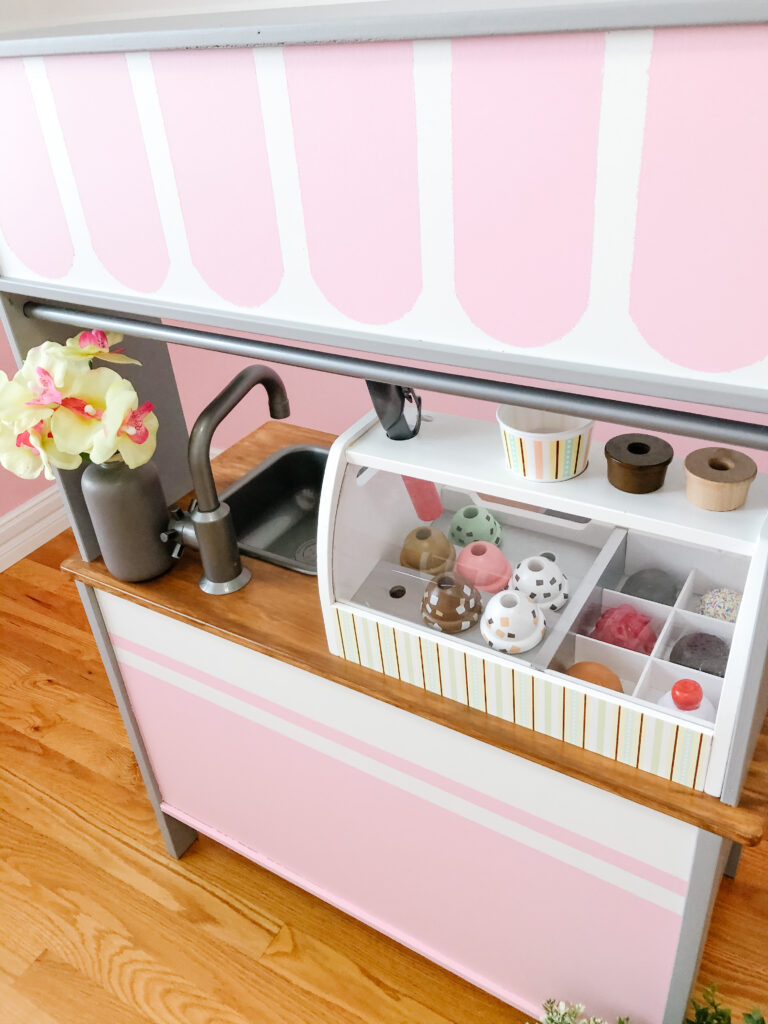
This time around I removed the backsplash and touched up some of the grey that I didn’t pant the first time and stained the back edge of the countertop. Luckily I still had the wood stain wipes and the grey paint (which is also a wall color in our home) on hand.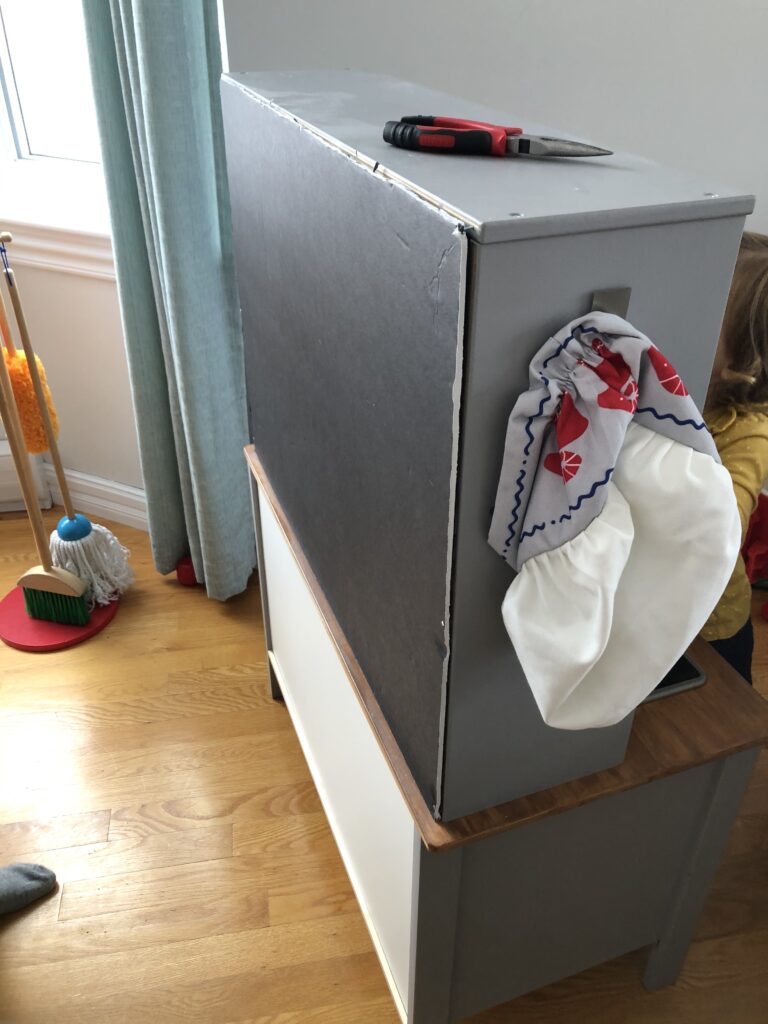
It’s worth noting that even though I used wall paint, which is likely not the recommended type of paint to use to get the most wear out of the paint, here we are three years later with very few chips in the paint on what has been the kids most used toy!
The next step was to tape the design I wanted on the top and bottom sections. The scollops were the biggest challenge, but SOOOO worth it! I traced the outline of a round cup on a piece of painters tape, then made a bunch of paint strips that I taped together in a stack of tape with the piece I traced the round cup outline on top. I cut the along the traced line (and cut through all of the tape pieces stacked on tope of each other at the same time). That method ensured I had the same cut on each piece of tape.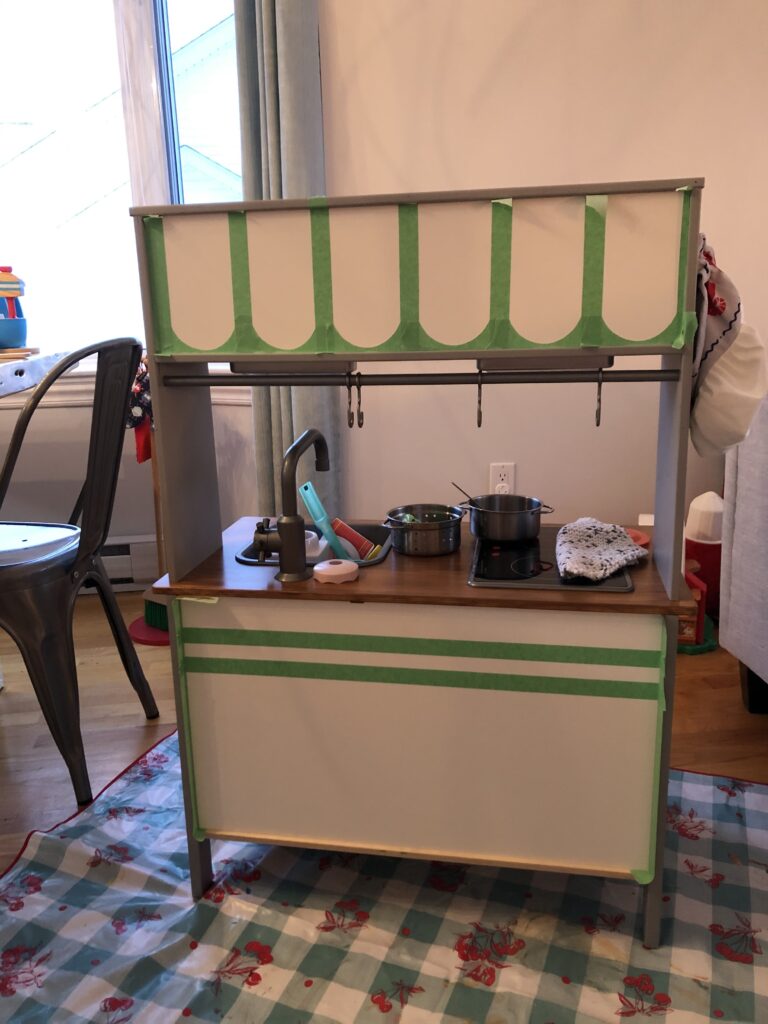
I started at the left hand side with a piece of tape down the edge of the grey, followed by a scolloped piece on the bottom and keep going across hoping for the best since I didn’t bother measuring. Luckily it worked out!
The next step was to put the Ikea play kitchen on our kitchen counter so I could easily paint it. And… paint, paint again and remove the tape.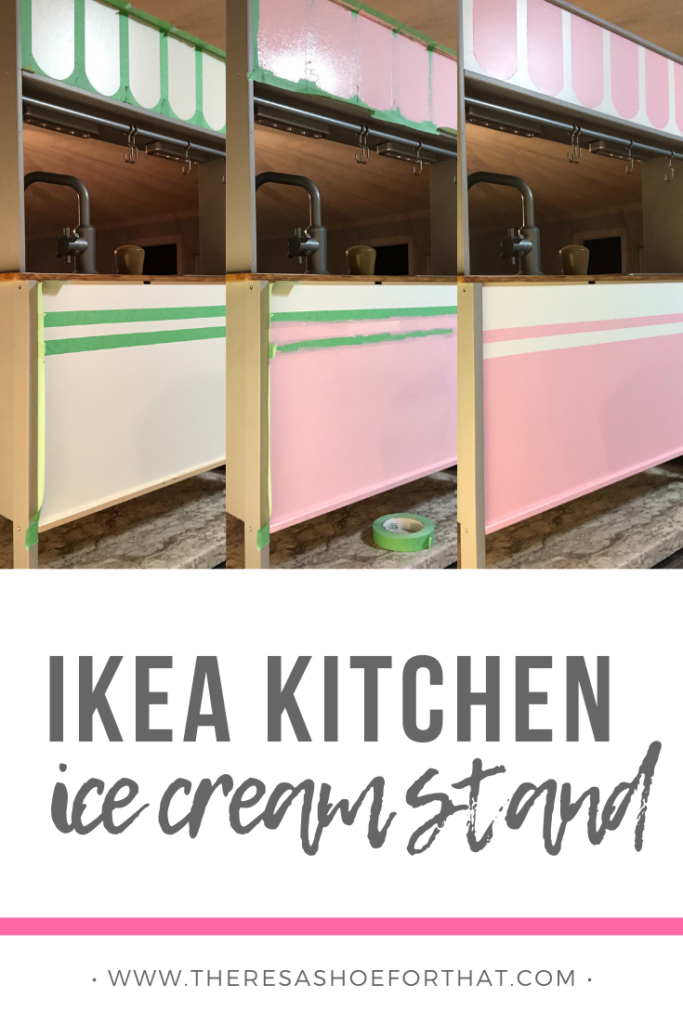
This DIY project is one of the fastest projects I’ve ever done to see a huge result – don’t you love those?! I can’t wait to see the whole bedroom come together, but this little piece made all the difference to begin the transformation to Kate’s Ice Cream Parlor 🙂
xo Jenna
Shop this post:
No Comments